

Key Takeaways
Summary
22 items · 1.5-3 hours
Why One Weekend of Attention Pays Off All Winter
Drafts, moisture, and heat loss rarely announce themselves dramatically. They creep in through gaps you'd never notice on a casual walk-through - the edge of a window frame, the base of an exterior door, a crack where a pipe enters the wall. Over a heating season, those small leaks add up to measurable discomfort and higher energy bills.
The good news: the majority of weatherproofing fixes require only basic supplies and a few hours of focused effort. You don't need a professional energy auditor or expensive equipment. What you need is a room-by-room approach so nothing slips through the cracks - literally.
This checklist walks you through every major area of your home. Work through it systematically, mark what needs fixing, and tackle repairs in order of priority. If you've been dealing with other seasonal home quirks alongside drafts, our guide on seasonal house movement explains why temperature and humidity shift things in ways that matter for sealing, too.
Know When to Call a Professional
This checklist covers common DIY weatherproofing tasks, but some situations require a licensed contractor or inspector. If you find structural cracks in your foundation, signs of significant mold growth, or gaps near gas lines or electrical panels, stop and consult a qualified professional. Permit and code requirements for insulation and sealing work vary by locality - check with your local building department before undertaking any work that alters your home's envelope substantially.
What to Gather Before You Start
Having your supplies ready before you begin saves time and keeps momentum going. You don't need to buy everything at once - work through the checklist first with just a detection tool to identify your actual problem spots, then purchase only what you need to fix them.
Caulk gun + all-purpose exterior caulk
Fills gaps around window frames, door frames, and wall penetrations on the exterior.
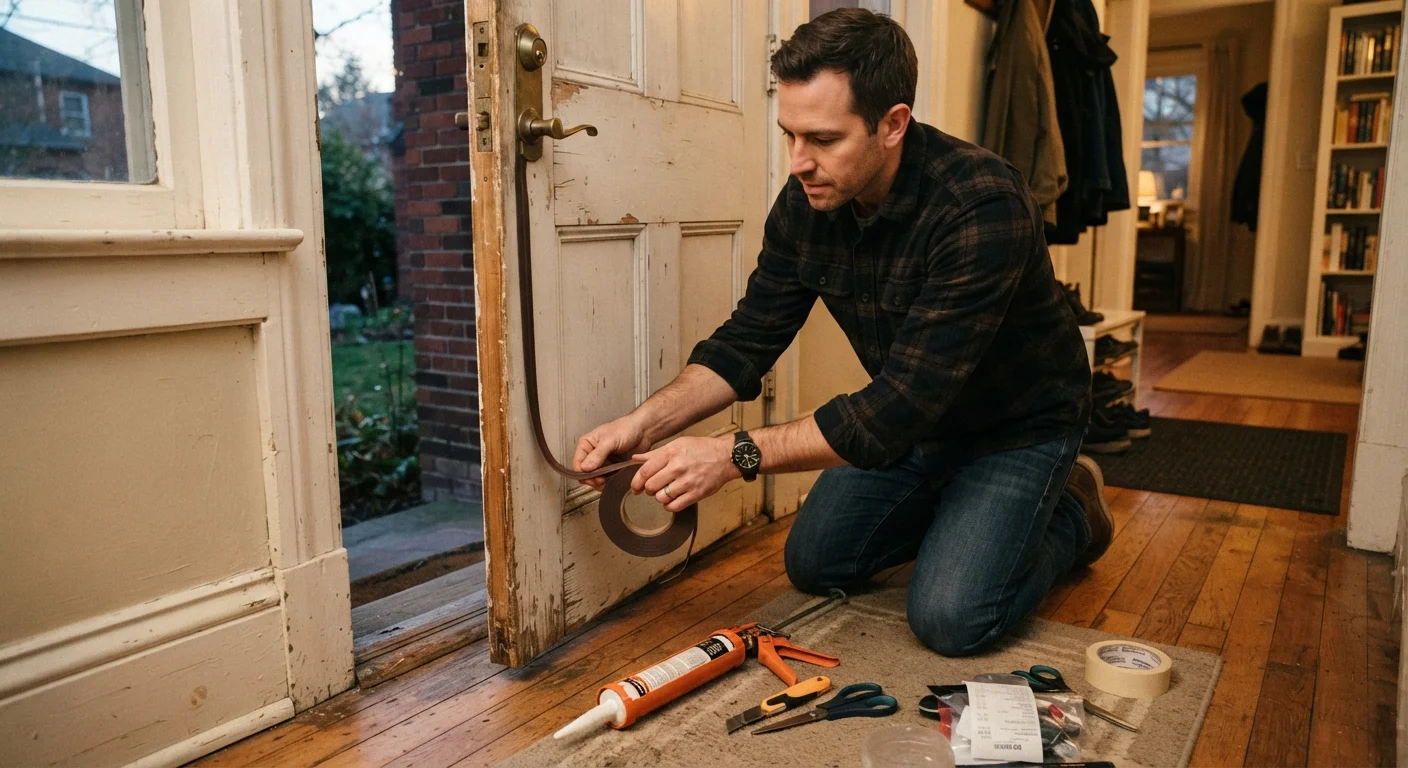
Foam weatherstripping tape
Replaces worn door and window seals where the original stripping has compressed or torn.
Door sweep
Replaces the bottom seal on exterior doors to block drafts and keep out pests.
Fire-rated expanding foam
Seals larger gaps around pipes and ducts where they pass through walls or floors.
Outlet foam gaskets
Pre-cut foam pads that fit behind switch plates and outlet covers on exterior walls to block air infiltration.
Incense sticks or thin tissue strips
Low-cost detection tool for locating air movement at suspected leak points.
Removable rope caulk or interior window film
Provides temporary added insulation for single-pane windows during cold months without permanent modification.
The Full Weatherproofing Checklist
Work through each group in order. Use a lit incense stick, a damp hand, or a thin piece of tissue held near suspected gaps - any movement or flutter indicates air infiltration. Mark each problem spot with painter's tape as you go so you don't lose track.
Doors & Entryways
Windows
Walls, Outlets & Penetrations
Attic, Basement & Crawl Spaces
Final Inspection & Follow-Up
After completing repairs, budget-conscious homeowners may find it useful to track weatherproofing costs alongside other household expenses. Our monthly household budget checklist can help you plan for seasonal home maintenance without financial surprises.
Attic Air Sealing Comes Before Insulation
A common mistake is adding attic insulation before sealing air gaps in the attic floor. Insulation slows heat transfer but does not stop air movement - unsealed gaps allow warm moist air to pass through and condense in the cold attic, potentially causing mold and structural damage. Always seal penetrations and top plates first, then verify or add insulation on top of the sealed surfaces.