

Key Takeaways
Start here
Why These Two Repairs Are Worth Doing Yourself
Next
Before You Touch Anything: Safety and Setup
Core skill
How to Fix a Running Toilet
Core skill
How to Fix a Leaky Faucet
Know your limits
When to Call a Professional Instead
Why These Two Repairs Are Worth Doing Yourself
A toilet that won't stop running and a faucet that drips after you turn it off are two of the most common household plumbing complaints - and also two of the most manageable DIY fixes. Neither requires cutting into walls, soldering pipes, or specialized licensing.
Beyond the satisfaction of solving the problem yourself, there's a clear financial case. A dripping faucet can waste thousands of gallons per year. A running toilet can waste significantly more. Catching and fixing these issues early keeps your water bill in check. See our guide to home repair costs you can realistically cut for a broader look at where DIY effort pays off most.
The parts involved - flappers, fill valves, washers, cartridges - are widely available at hardware stores and typically cost between $5 and $20. That's a fraction of what a plumber visit costs, even before labor time is added.
Before You Touch Anything: Safety and Setup
Good preparation makes both repairs faster and safer. Gather your tools first: an adjustable wrench, slip-joint pliers, a flathead and Phillips screwdriver, and a few clean rags or a small bucket. See our overview of essential hand tools if you're unsure what any of these do.
Flapper
A rubber seal inside the toilet tank that lifts when you flush and drops back down to hold water until the next flush. When it wears out, water leaks continuously into the bowl.
Fill valve
The mechanism inside the toilet tank that refills it with water after each flush. A faulty fill valve may run constantly or fail to shut off when the tank is full.
Float
A buoyant device connected to the fill valve that signals when the tank is full and should stop filling. If set too high, it causes water to spill into the overflow tube.
Cartridge
A self-contained internal unit inside a faucet that controls the flow and temperature of water. When worn, it causes dripping and is replaced as a single unit.
Compression washer
A small rubber disc inside older compression-style faucets that presses against a seat to stop water flow. It's the most common cause of dripping in that faucet type.
Overflow tube
A vertical pipe inside the toilet tank that acts as a safety drain. If water rises too high, it drains down this tube into the bowl - a sign the float is set too high.
The single most important step before any repair: shut off the water supply. For toilets, turn the shutoff valve clockwise - it's typically on the wall or floor behind the toilet. For faucets, look under the sink for individual hot and cold supply valves. If either valve is stuck or inaccessible, use your home's main shutoff instead.
Once water is off, flush the toilet or open the faucet to drain any remaining water from the line. This prevents unexpected spills while you work.
How to Fix a Running Toilet
Remove the tank lid and set it safely aside. Watch what's happening inside - this tells you which part has failed.
Step 1: Check the Flapper
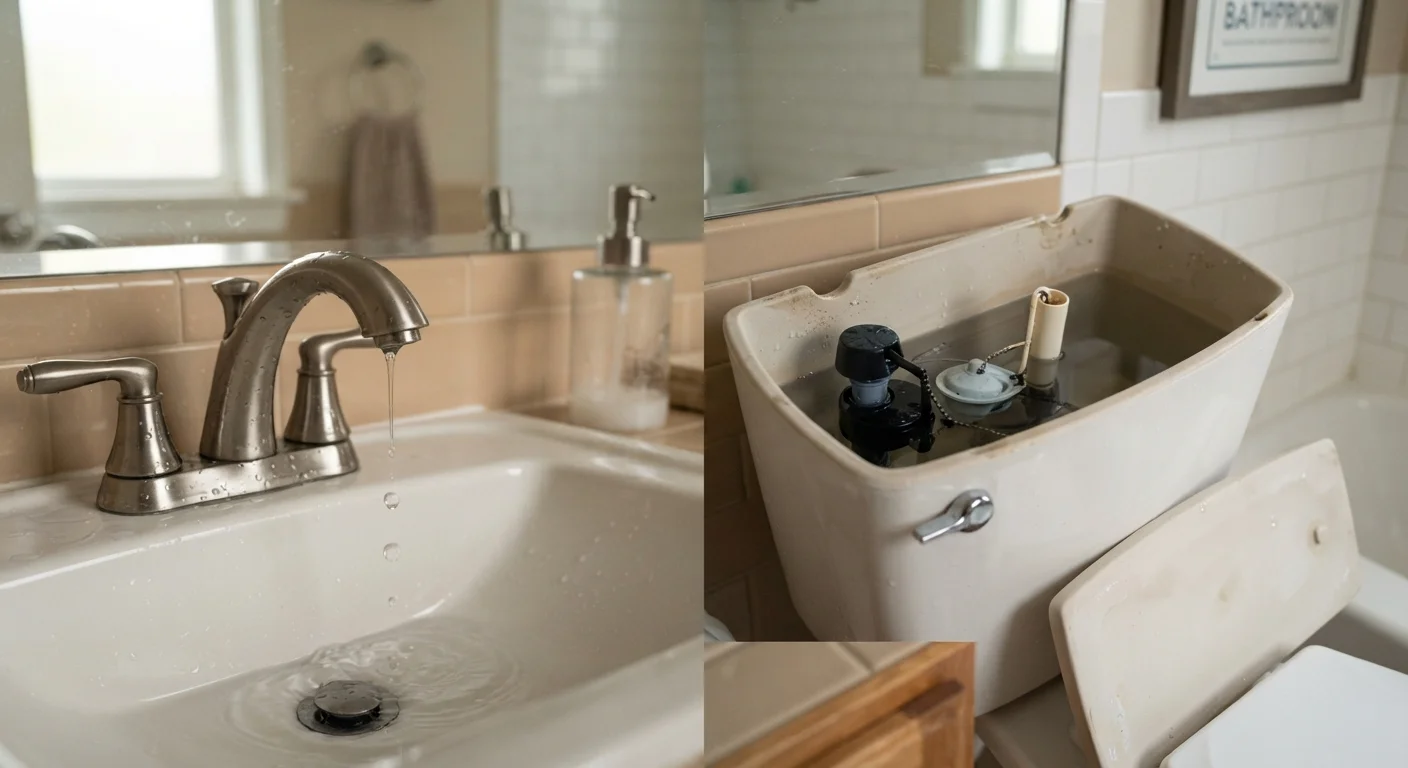
The flapper is the rubber seal at the bottom of the tank that lifts when you flush and drops to hold water between flushes. Press down on it with your finger while the toilet is running. If the sound stops, the flapper isn't sealing properly and needs replacement. Turn off the water, unhook the old flapper from the overflow tube ears, disconnect the chain from the flush handle arm, and snap the new flapper in place. Reconnect the chain with about half an inch of slack.
Step 2: Check the Float
If the flapper isn't the issue, look at the water level. If water is spilling into the overflow tube (the tall open pipe in the center of the tank), the float is set too high. On ball-float systems, gently bend the float arm downward. On cup-float systems, slide the float down the fill valve shaft. The correct water level sits about one inch below the top of the overflow tube.
Step 3: Replace the Fill Valve
If adjusting the float doesn't help, the fill valve - the mechanism that refills the tank after each flush - may be worn out. Shut off water, flush to empty the tank, disconnect the supply line, and unscrew the locknut beneath the tank. Lift out the old valve, drop in the new one, and reverse the steps. New fill valves include adjustment instructions on the packaging.
Match Parts Before Leaving the Store
Bring the old flapper or fill valve with you to the hardware store when buying a replacement. Toilet tank components are not fully standardized, and matching by sight or part number prevents a second trip. Many stores also have staff who can help identify the correct replacement on the spot.
How to Fix a Leaky Faucet
The repair method depends on your faucet type. Before disassembling anything, take a photo of the handle assembly so you have a reference for reassembly.
Compression Faucets
These older-style faucets have separate hot and cold handles that tighten down to stop flow. The most common failure is a worn rubber washer at the base of the stem. Remove the handle (usually secured by a screw under a decorative cap), unscrew the packing nut, and pull out the stem. The washer is held at the bottom by a brass screw. Replace it with an exact-match washer, reassemble, and test.
Cartridge and Ball Faucets
Single-handle faucets often use a cartridge or ball mechanism. For cartridge types, pull or unscrew the cartridge from the valve body and take it to the hardware store to match the replacement exactly. For ball faucets, a repair kit specific to your faucet model contains all the o-rings, springs, and seats needed. Replace all the kit components at once - they wear at similar rates.
Ceramic Disc Faucets
These are among the most durable faucet types but can leak if mineral deposits build up on the ceramic disc. Remove the cartridge, inspect the disc for cracks, and clean it gently with white vinegar and a soft cloth. If cracked, replace the entire cartridge. Always turn the water back on slowly after reassembling a ceramic disc faucet to avoid cracking the disc with a sudden pressure surge.
For more on avoiding common mistakes, our article on DIY plumbing myths that make leaks worse is worth reading before you start.
When to Call a Professional Instead
Both repairs covered here are genuinely beginner-friendly, but certain conditions call for a licensed plumber. Stop and seek professional help if you encounter any of the following:
- The shutoff valve won't turn or is corroded shut
- You find evidence of water damage - swollen wood, staining, or mold - behind or beneath fixtures
- The supply line is visibly cracked or the fitting threads are damaged
- The leak involves the toilet's wax ring seal at the base (requires lifting the entire toilet)
- Water pressure problems persist after the repair
Work involving your home's main supply lines, drain connections, or anything that requires opening walls is generally regulated and may require a permit and licensed trade work. When in doubt about scope, a single consultation call with a plumber costs far less than undoing damage caused by an overextended DIY attempt.
If you're also maintaining outdoor fixtures, see our guide on fixing a dripping outdoor spigot for a related repair with its own considerations.