

Key Takeaways
Why a Single-Tile Repair Is Worth Attempting
A cracked or heavily chipped floor tile is more than cosmetic. Sharp edges can catch socks or bare feet, and a broken tile can signal - or cause - moisture infiltration into the subfloor below. Calling in a tile contractor for one tile, though, often means paying for a minimum service call that far exceeds the actual work involved.
The good news: replacing one tile is a realistic DIY task for a homeowner with basic tool familiarity and a few hours on a weekend. Unlike patching drywall, which is largely forgiving of imperfect technique, tile work rewards patience and methodical prep. Rush any stage and you risk cracking an adjacent tile - turning a one-tile job into a three-tile job.
This guide walks through every stage: sourcing a matching tile, pulling the damaged piece safely, resetting the new one, and grouting so cleanly that the repair disappears into the floor.
What you will need
Tools and Materials You'll Need
Gather everything before you start. Stopping mid-job to make a hardware run leaves adhesive drying unevenly or exposes an open subfloor to foot traffic.
Grout saw or oscillating multi-tool with grout blade
Cuts through existing grout lines surrounding the damaged tile without cracking adjacent tiles.
Cold chisel and hammer
Breaks the damaged tile into pieces and pries them away from the subfloor.
Margin trowel
Spreads thin-set mortar evenly onto the subfloor before setting the new tile.
Notched trowel (appropriate notch size for tile dimensions)
Combs mortar into ridges that compress evenly when the tile is pressed into place.
Tile spacers
Maintains consistent grout-line width around the new tile to match the existing pattern.
Rubber grout float
Presses grout into joints without scratching the tile surface.
Sponge and bucket
Wipes excess grout haze from the tile face during and after grouting.
Grout sealer and small foam brush
Seals cured grout lines to resist staining and moisture penetration.
One note on tile matching: bring a fragment of the damaged tile - or a photo taken under natural light - to a tile supplier. Even tiles from the same manufacturer vary across production runs. If you saved leftover tiles from the original installation, those are ideal. Otherwise, expect to visit two or three suppliers before finding a close match.
Step-by-Step: Removing and Replacing the Tile
Work deliberately through each stage. The most common mistake is rushing the removal phase and cracking a neighboring tile with a poorly angled chisel.
Score and remove the grout
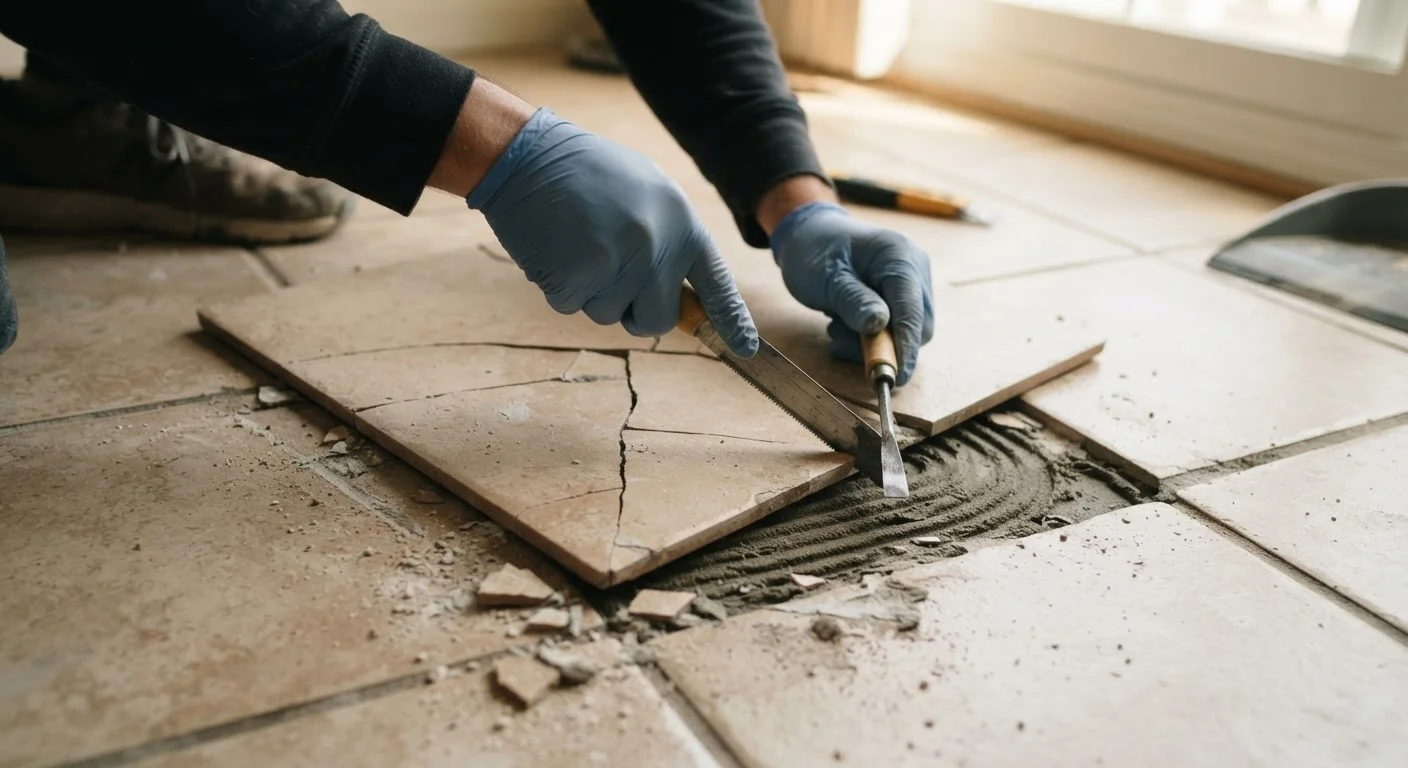
Using a grout saw or an oscillating multi-tool fitted with a grout-removal blade, carefully cut along all four grout lines surrounding the damaged tile. Work at a shallow angle and keep the blade centered in the joint to avoid nicking the edges of neighboring tiles. Remove as much grout as possible - at minimum, clear the top half of the joint depth so the chisel has room to work without forcing against the adjacent tiles.
Break up the damaged tile
Place the tip of a cold chisel in the center of the damaged tile and strike it firmly with a hammer to fracture the tile into manageable pieces. Work from the center outward, keeping chisel angle low to avoid levering against neighboring tiles. Remove all fragments, including any tile shards bonded to the subfloor edges.
Clean the subfloor
Use the chisel and a stiff putty knife to scrape away all remaining mortar or adhesive from the subfloor. The surface must be flat, clean, and free of loose material. Any high spots in old mortar will prevent the new tile from sitting level with the surrounding floor. Check flatness by sliding a straightedge across the opening and feeling for high or low points. Fill significant low spots with a skim of new thin-set and allow it to firm up before proceeding.
Dry-fit the replacement tile
Before mixing any mortar, place the new tile in the opening and confirm it sits flush with the surrounding tiles and that the grout gaps are consistent on all sides. This is the moment to catch size discrepancies. If the replacement tile is fractionally larger, it can be trimmed with a wet saw. If it's slightly smaller, tile spacers will help center it within the opening to maintain even grout lines.
Apply thin-set mortar and set the tile
Mix thin-set mortar according to package directions - it should hold a ridge without slumping. Spread mortar onto the subfloor with the flat side of the notched trowel, then comb it into uniform ridges using the notched edge. Also back-butter the tile itself (apply a thin coat directly to its underside) for full coverage. Press the tile firmly into place using a slight twisting motion, then check that it's level with surrounding tiles using a straightedge. Place tile spacers in each corner joint immediately.
Allow mortar to cure, then grout
Leave the tile undisturbed for the cure time specified on your mortar packaging - typically 24 hours for standard thin-set. Once cured, remove the spacers and mix your grout to a peanut-butter consistency. Pack grout into the joints using a rubber float held at a 45-degree angle, working it diagonally across the joints to force grout fully into the gaps. Wipe away surface haze with a damp sponge before it dries, rinsing the sponge frequently. Finish with a clean, lightly damp sponge pass to remove remaining film.
Homes Built Before 1980: Test for Asbestos
Older vinyl floor tiles and some older tile adhesives (mastics) may contain asbestos. If your home was built before approximately 1980 and you're unsure of the floor's history, do not grind, sand, or aggressively chisel the tile or adhesive before consulting a licensed asbestos inspector. Disturbing asbestos-containing materials releases hazardous fibers. Many local health departments offer guidance on testing options.
Finishing and Curing
Once grout has been applied and the haze wiped away, keep foot traffic off the repaired tile for the time specified on your grout packaging - typically 24 hours minimum, though 48 is safer for high-traffic areas. Full grout hardness (known as cure strength) develops over several days.
After curing, apply a penetrating grout sealer to the new grout lines using a small foam brush. Existing grout elsewhere on the floor may already be sealed, but freshly applied grout is always porous until sealed. This step takes about ten minutes and meaningfully extends how long the repair stays clean and stain-resistant.
Step back and check the finished tile from multiple angles under both natural and artificial light. Minor color variation between new and existing tile is common and typically becomes less noticeable as the new grout ages and the tile surface accumulates normal wear. If the match is genuinely far off, a tinted grout - mixed to approximate the surrounding grout color - can visually unify the repair.