

Key Takeaways
Understanding Drywall Damage and Why Repair Method Matters
Drywall - also called gypsum board or sheetrock - is the standard wall and ceiling material in most US homes built after the 1950s. It is durable for everyday use but vulnerable to impact, moisture, and normal structural settling. Small cracks can appear around door frames or windows as the house shifts with temperature changes, while larger holes typically come from doorknobs, furniture impacts, or old fixture removal.
The reason repair method matters so much is structural: applying spackle over a 4-inch hole produces a brittle surface with no backing, which will crack and fall out within months. Conversely, installing a backer board for a hairline crack is unnecessary labor. Choosing the right approach for your damage size saves time, materials, and frustration.
Check for Hidden Hazards First
Before cutting into any wall, verify there are no electrical wires, plumbing pipes, or gas lines behind the drywall in that area. Use a stud finder with AC detection, or consult your home's blueprints. Cutting blindly into a wall can result in serious injury or costly damage. If you are uncertain, contact a licensed professional before proceeding.
If your walls show recurring cracks along seams - especially diagonal cracks running from window or door corners - that pattern can indicate foundation settling or moisture intrusion rather than superficial surface damage. In those cases, patching alone will not solve the problem. Consider having a structural professional evaluate the cause before investing in cosmetic repair.
For wall areas near windows or exterior edges where you also notice drafts, the weekend weatherproofing checklist can help you identify and address those related issues at the same time.
Tools, Materials, and Setup
One of the genuine advantages of DIY drywall repair is cost. For most small to mid-size repairs, the total material cost is under $20 - primarily joint compound and a mesh patch kit. If you already own a putty knife, sandpaper, and primer, the incremental cost is even lower.
Putty knife or drywall knife (4-6 inch)
Used to apply and feather joint compound or spackle over small repairs.
Drywall saw or utility knife
Cuts damaged drywall cleanly for mid-size and large hole repairs.
Self-adhesive mesh drywall patch
Provides a backing surface for filling holes roughly 2-6 inches in diameter.
Lightweight joint compound (pre-mixed)
The primary filler material for creating smooth, feathered repairs that blend into surrounding wall.
Spackle or patching compound
Best for hairline cracks and small nail holes; dries faster than joint compound.
Sandpaper (120-grit and 220-grit)
Smooths dried compound between coats and prepares the surface for priming and painting.
Drywall primer
Seals the repaired area so paint adheres evenly and the patch doesn't show through.
Drywall screws and backer board (wood or metal)
Required for large hole repairs to create a structural backing for the replacement drywall panel.
Before you start, lay a drop cloth on the floor beneath your work area - compound dust and small chunks of drywall are inevitable. If the repair involves cutting or heavy sanding, wear a simple dust mask. Review the essential hand tools guide if any of the tools above are unfamiliar.
What you will need
Step-by-Step Repair Instructions
Follow the steps below in order, adjusting the technique to your damage size as described in each step. Do not skip coats or rush drying time - that is the most common cause of repairs that crack or show through paint.
Assess the damage and choose your method
Drywall repairs fall into three categories based on damage size:
- Hairline cracks and nail holes (under ½ inch): Spackle or lightweight patching compound, applied directly with a putty knife.
- Mid-size holes (½ inch to about 6 inches): Self-adhesive mesh patch plus joint compound.
- Large holes (over 6 inches): Cut and replace a full section of drywall using backer boards for support.
Match your approach to your damage. Over-engineering a small crack wastes time; under-engineering a large hole produces a weak, crumbling repair.
Prepare the damaged area
Use a putty knife or utility knife to remove any loose paper, crumbling compound, or sharp edges around the damage. The repair material needs a stable, clean surface to bond to. For larger holes, trim the edges straight with a drywall saw so you can fit a clean patch piece later.
Wipe the area with a barely damp cloth to remove dust. Allow it to dry completely before applying any compound.
Apply the first coat of compound or spackle
For hairline cracks: Press a small amount of spackle into the crack with your putty knife, then drag the knife flat across the surface to remove the excess. You want the compound slightly proud of the wall at this stage - it will shrink as it dries.
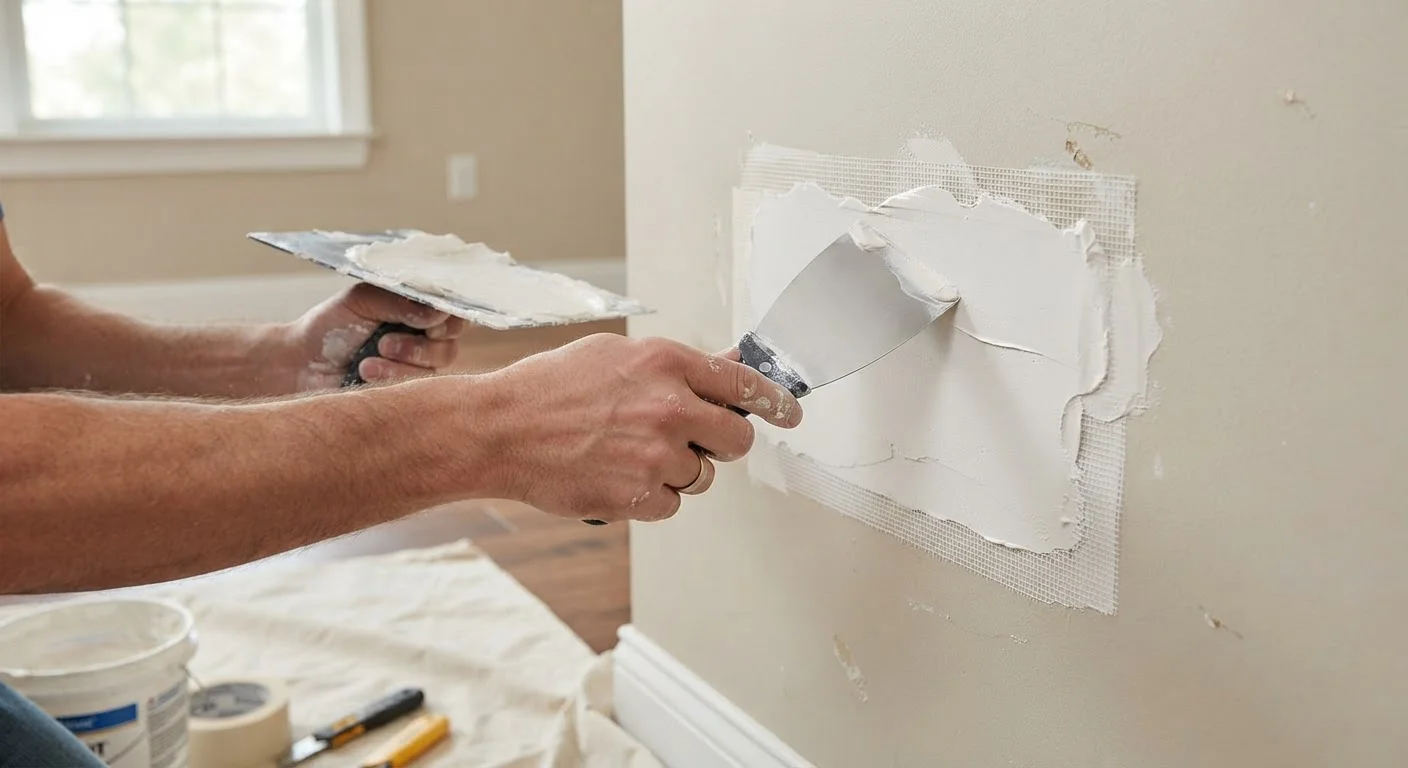
For mid-size holes: Apply a self-adhesive mesh patch over the hole, pressing firmly around all edges. Then apply a coat of lightweight joint compound over the mesh, feathering the edges at least 3-4 inches beyond the patch boundary.
For large holes: Install backer boards (strips of wood or metal channel screwed into the existing drywall) inside the hole, then cut a replacement drywall piece to fit and secure it to the backers with drywall screws. Tape the seams with paper or mesh drywall tape, then apply your first coat of compound.
Allow to dry fully, then sand lightly
Drying time varies by product, humidity, and coat thickness - always read the manufacturer's guidance on the container. As a general rule, lightweight joint compound needs at least 24 hours per coat in normal indoor conditions. The compound will appear white when fully dry; a grayish or translucent area means it is still wet.
Once dry, sand lightly with 120-grit sandpaper to knock down ridges and high spots. Wipe away dust with a dry cloth before adding the next coat.
Apply second (and third) coats
Most repairs need two to three thin coats of compound, not one thick coat. Each successive coat is applied slightly wider than the previous one, continuing to feather out toward the surrounding wall. Thin coats shrink less, dry faster, and produce a smoother result than a single heavy application.
For hairline cracks, two coats are usually sufficient. For patched mid-size and large holes, plan on three coats minimum. Sand lightly with 220-grit paper between each coat once fully dry.
Prime and paint the repaired area
Once your final coat is dry and sanded smooth, apply a coat of drywall primer to the repaired area. This seals the compound and ensures the topcoat paint color matches the surrounding wall. Skipping primer is the most common reason a patch remains visible after painting.
After the primer dries, paint the repair to match the wall. For a seamless result, you may need to paint the entire wall rather than spot-painting - patched areas often show subtle sheen differences even when the color matches. For painting technique guidance, see our interior wall painting guide.
Don't Skip Primer Before Painting
Patched drywall is more porous than surrounding painted surfaces, and paint applied directly over compound will appear flat or blotchy - a telltale sign of amateur work. Always apply a coat of drywall primer to the repaired area before painting, even if the rest of the wall doesn't need it.
Once your repair is complete and painted, the result should be effectively invisible. If you notice paint sheen differences after painting, a full wall repaint is typically the only reliable fix - which is one more reason to take the time to properly prime before your topcoat.
If you are working on other interior surfaces at the same time, the approach for repairing a damaged tile follows similar patch-and-blend principles and is worth reviewing if tile work is also on your list.