

Key Takeaways
Why Caulk Fails Faster Than It Should
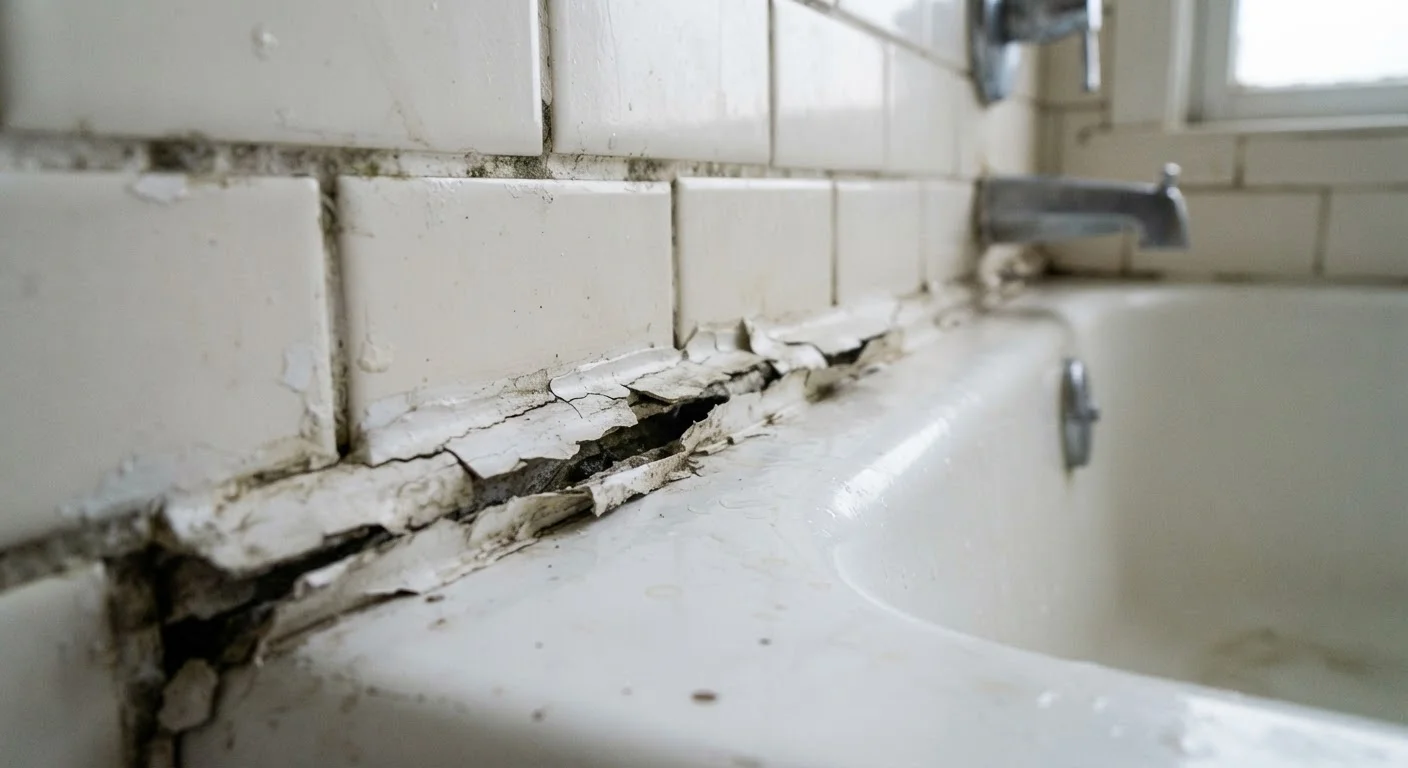
A tube of caulk costs just a few dollars, yet many homeowners find themselves reapplying it every year or two. The frustrating truth is that cracking, peeling, and shrinking caulk is almost never caused by a defective product - it's caused by how the job was done. Understanding the root causes puts you in control of a fix that actually holds.
Caulk serves as a flexible seal across joints where two surfaces meet and move - think where a tub meets tile, a window frame meets siding, or a countertop meets a backsplash. Because these joints expand and contract with temperature and humidity, a rigid or poorly bonded seal will crack under that stress. The mistakes below are the most common reasons that seal breaks down ahead of schedule.
Applying new caulk over old caulk without removing the existing layer first.
Why it happens: It looks faster and avoids the messy removal step, so many people skip it - especially when the old caulk still looks mostly intact.
Using the wrong type of caulk for the location - especially latex or paintable caulk in wet areas.
Why it happens: Latex and acrylic caulks are widely available and easy to work with, so they end up being used everywhere regardless of whether the area gets wet.
Caulking over a damp or recently wet surface.
Why it happens: Homeowners often apply caulk the same day they notice the problem, without waiting for the surface to fully dry out.
Skipping the surface cleaning step before application.
Why it happens: The joint may look clean to the eye, but soap scum, mineral deposits, mildew, and body oils are nearly invisible and devastate adhesion.
Not tooling the bead after application, leaving a convex or uneven surface.
Why it happens: Many people assume the caulk gun deposits a finished bead, but raw caulk sits on the surface rather than bonding into the joint.
Exposing freshly applied caulk to water before it has fully cured.
Why it happens: Cure time instructions on the packaging are easy to overlook, especially when a bathroom is in frequent use.
How to Apply Caulk That Actually Lasts
Once you know what causes failure, a lasting repair follows a straightforward process. Start by removing every trace of old caulk using a plastic scraper or a dedicated caulk remover tool. Avoid metal scrapers on acrylic tubs or finished surfaces - they scratch. After mechanical removal, wipe the joint with isopropyl alcohol to dissolve any remaining residue and oils.
Let the area dry completely. In a shower or tub surround, this may take 24 hours after the last use. Run a fan if needed. Moisture trapped under fresh caulk is a leading cause of early failure, and no product overcomes it.
Never Caulk Over Mold or Mildew
If the old joint shows black or pink staining, that's active mold - not just discoloration. Caulking over it seals the mold in place, where it continues to grow beneath the new seal. Treat the area with a diluted bleach solution (follow product guidance for ratios), let it dry fully, and then proceed with fresh caulk. Persistent mold may indicate a moisture intrusion problem behind the wall that caulk alone cannot solve.
Cut your caulk tube nozzle at a shallow angle - roughly 45 degrees - and as close to the tip as possible to start with a small opening you can enlarge if needed. Hold the gun at a consistent angle and pull (don't push) the gun along the joint at a steady pace so the bead is even. Once applied, immediately smooth the bead with a damp finger or a caulk finishing tool, pressing it into the joint for full contact. Wipe away excess with a damp cloth before it skins over.
Resist the urge to use the shower or sink right away. Most silicone caulks require 24-48 hours to cure, and some take longer at lower temperatures or higher humidity. Read the product label - cure time matters as much as application. For other interior repair projects that involve sealing and finishing surfaces, our guide to patching drywall walks through the same prep-first approach with similar payoff.
24-48 hrs
Minimum cure time for silicone caulk
Most silicone caulk manufacturers specify a 24- to 48-hour cure window before water exposure, though this varies by product and ambient conditions.
~$5-$15
Typical DIY caulking materials cost
A tube of quality silicone caulk and a basic plastic scraper represent the main material costs for a standard tub or shower re-caulk project.