

Key Takeaways
Why Composting Makes Sense for Budget-Conscious Gardeners
Bag after bag of purchased fertilizer and soil amendment adds up fast over a growing season. Composting lets you close that loop by converting what you already throw away - vegetable peels, egg shells, coffee grounds, cardboard - into a genuine soil conditioner at no ongoing cost. The USDA estimates that food scraps and yard waste make up a significant share of household trash, meaning most households already have everything they need to start.
Beyond the savings, homemade compost improves soil structure in ways that synthetic fertilizers cannot: it introduces beneficial microorganisms, helps sandy soils retain moisture, and loosens compacted clay. If you're building a food garden from scratch, combining compost with a budget vegetable garden plan gives your plants the healthiest possible foundation without expensive inputs.
And before you start amending your soil heavily, it's worth knowing what your soil actually needs. A basic soil test can prevent you from over-applying any amendment - even a free one.
Compost bin or designated pile area
Contains materials, retains heat and moisture, and keeps pests out during decomposition.
Pitchfork or garden fork
Used to turn and aerate the compost pile regularly to speed decomposition.
Kitchen scrap container with lid
Collects food scraps at the counter until you're ready to transfer them to the outdoor pile.
Garden hose or watering can
Adds moisture when the pile dries out, maintaining ideal decomposition conditions.
Hardware cloth or wire mesh
Optional lining for an open pile to deter rodents from entering from the bottom or sides.
What to Add - and What to Keep Out
Understanding what belongs in your compost pile is the single most important thing you can do before you start. Below is a quick reference:
| Add Freely (Greens) | Add Freely (Browns) | Never Add |
|---|---|---|
| Vegetable and fruit scraps | Dry leaves | Meat, fish, or bones |
| Coffee grounds and paper filters | Cardboard (torn up) | Dairy products |
| Fresh grass clippings | Newspaper | Oily or greasy foods |
| Plant trimmings (disease-free) | Paper bags and egg cartons | Pet waste (dogs/cats) |
| Eggshells | Straw or wood chips | Diseased plants |
Never Compost These Materials
Meat, fish, bones, dairy products, and oily or greasy foods must be kept out of a home compost pile. These items attract pests, create foul odors, and can introduce harmful pathogens. Diseased plants and pet waste (from dogs or cats) should also be excluded, as standard home composting does not reach temperatures high enough to neutralize the risks they carry.
Speed Up Decomposition Naturally
Chop or shred materials before adding them to the pile - smaller pieces decompose significantly faster because they expose more surface area to microbes. Grass clippings and coffee grounds are especially effective activators that can jumpstart a slow pile without any purchased additives.
Keep Your Pile Moist, Not Soggy
A compost pile that is too wet will turn anaerobic - meaning it decomposes without oxygen - producing foul smells and slow results. Aim for moisture similar to a wrung-out sponge. If your pile smells like ammonia or rotten eggs, it needs more airflow and dry brown material added immediately.
Step-by-Step: Starting and Maintaining Your Compost
Follow these steps to set up a functioning compost system and maintain it through the seasons. Most of the setup takes under an hour; ongoing maintenance is a few minutes every week or two.
What you will need
Choose your composting method and location
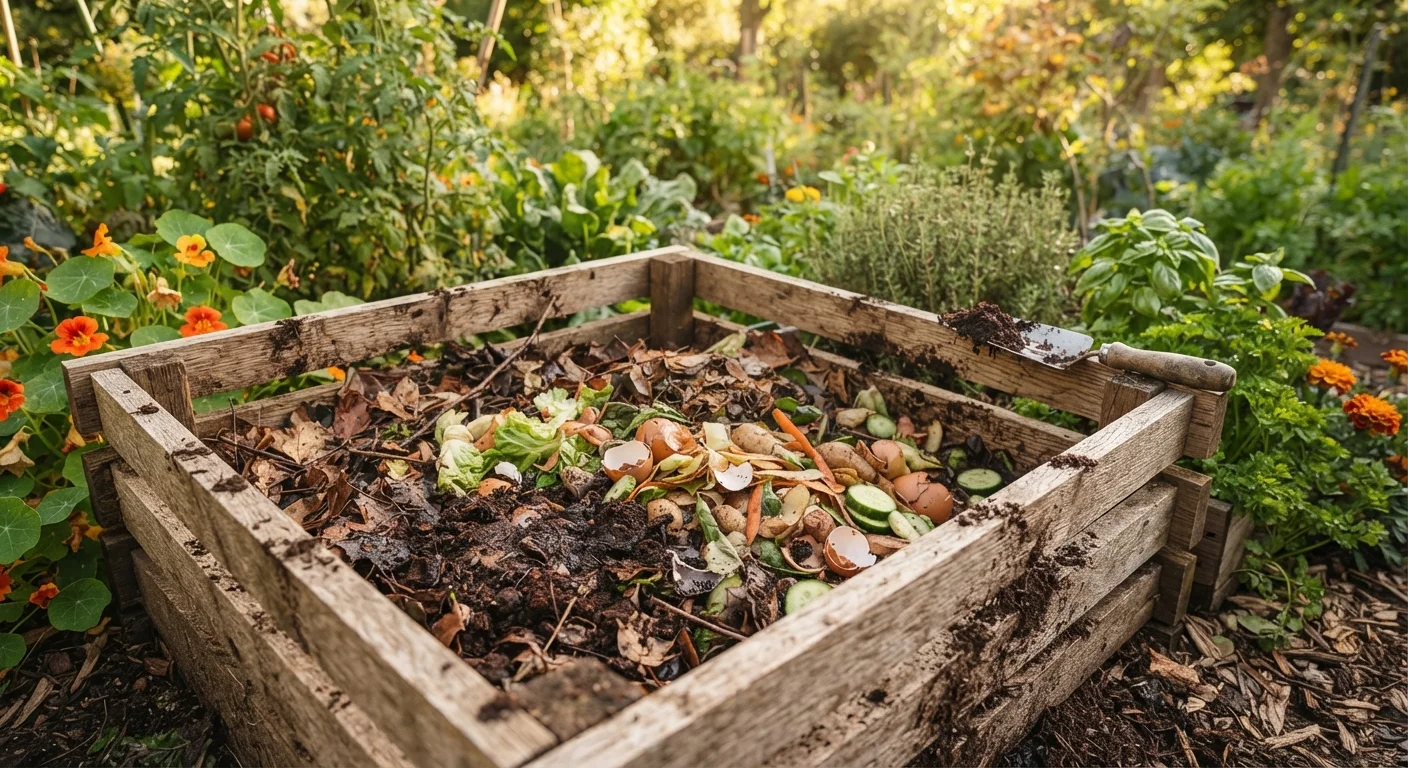
You have two practical options: an open pile or a contained bin. An open pile works well if you have a corner of your yard to dedicate and don't mind a slightly longer process. A contained bin (store-bought or DIY from pallets or wire mesh) retains heat better, decomposes faster, and is tidier for smaller properties.
Choose a spot that gets partial sun, has good drainage, and is reasonably convenient to your kitchen door - you'll be visiting it often. Avoid placing it directly against a wooden fence or structure, as persistent moisture can cause rot over time.
Gather your 'greens' and 'browns'
Successful composting relies on balancing two categories of material. Greens are nitrogen-rich: vegetable and fruit scraps, coffee grounds and filters, tea bags (paper only), fresh grass clippings, and plant trimmings. Browns are carbon-rich: dry leaves, cardboard torn into small pieces, newspaper, paper bags, straw, and wood chips.
A good working ratio is roughly two to three parts browns for every one part greens by volume. Too many greens without browns creates a slimy, smelly pile; too many browns with too few greens slows decomposition to a crawl.
If you're also reducing food waste in the kitchen, our pantry-first approach to grocery shopping can help ensure fewer scraps end up in the trash rather than the compost bin.
Build or start your pile in layers
Start with a 3-4 inch base layer of coarse browns (like small sticks or wood chips) directly on the ground to allow air circulation underneath. Follow with a layer of greens, then another layer of browns on top. Lightly moisten each layer as you go - it should feel damp but not dripping.
You don't need to be precise about perfect layers every time you add material. In practice, most homeowners simply toss scraps into the bin and cover them with a handful of dry leaves or torn cardboard to maintain the balance and suppress odors.
Turn and monitor the pile regularly
Aeration is what drives rapid decomposition. Use a pitchfork to turn your pile every one to two weeks, moving material from the outer edges toward the center where heat is highest. A pile that is working well will feel noticeably warm in its interior - this heat is generated by microbial activity and is a good sign.
Check moisture each time you turn. If the pile feels bone dry, add water. If it smells unpleasant or looks matted, add more browns and turn more frequently.
Recognize when compost is ready to use
Finished compost looks like dark, crumbly soil with an earthy, pleasant smell - not like the original ingredients. Most home piles reach this stage in two to six months with regular turning, or up to a year if left mostly undisturbed.
A simple test: grab a handful and squeeze. Finished compost holds its shape loosely but breaks apart easily. If you can still identify large pieces of the original material, give it more time or chop those pieces and reintroduce them.
Once your compost is ready, work it into garden beds before planting or use it as a top dressing around existing plants. For guidance on when to apply amendments in your region, see The Budget Gardener's Seasonal Calendar.