

Key Takeaways
Why a Dripping Outdoor Spigot Matters More Than It Seems
A single faucet dripping at just one drop per second can waste more than 3,000 gallons of water in a year, according to the U.S. Environmental Protection Agency's WaterSense program. For households already watching their utility spending, that kind of silent waste adds up in measurable ways. If you're looking at the bigger picture of reducing your monthly overhead, fixing a leaking spigot is one of the fastest wins available to you.
Outdoor spigots - also called hose bibs or sillcocks - take a beating over time. Seasonal temperature swings, frequent connection and disconnection of hoses, and simply years of use wear down the internal rubber components. The good news is that this is one of the DIY repairs listed in our look at home repair costs you can realistically cut yourself - parts typically cost under $5, and the job rarely requires more than an hour.
Adjustable wrench
Loosens and tightens the packing nut and stem assembly without damaging fittings.
Flathead screwdriver
Removes the handle screw and helps pry off older spigot handles.
Replacement packing washer or O-ring
The primary part that fails and causes spout drips; must match your spigot's stem diameter.
Plumber's grease (silicone-based)
Lubricates replacement washers and O-rings to extend their service life.
Teflon (PTFE) tape
Seals threaded connections when reinstalling the stem to stop leaks at the packing nut.
Bucket or towel
Catches residual water that drains out when you open the spigot after shutoff.
Before You Start: What You Need
Gather your tools and replacement parts before shutting off any water. Outdoor spigots in US homes are most commonly compression-type valves, which use a rubber washer pressed against a metal seat to stop water flow. Frost-free models add a long stem that seats the washer inside the heated part of your home - same principle, slightly more care required on reassembly.
What you will need
Always Shut Off Water Before Disassembly
Before loosening any part of your spigot, locate the shutoff valve on the supply line inside your home - typically in a basement, crawlspace, or utility room - and turn it fully clockwise. Skipping this step can result in an uncontrolled water release. Confirm water is off by briefly opening the spigot to relieve any remaining pressure in the line.
If you've handled a dripping indoor faucet before, this process will feel familiar. For a broader primer on both indoor and outdoor plumbing leaks, our first-time guide to fixing running toilets and leaky faucets covers the fundamentals clearly.
Step-by-Step Repair Instructions
Work through each step in order. Rushing the diagnosis or skipping the pressure-relief step are the two most common causes of a messy, avoidable problem. If at any point you find cracked metal fittings, corrosion throughout the valve body, or supply pipe damage inside the wall, stop and consult a licensed plumber - those conditions go beyond a washer swap.
Identify where the drip is coming from
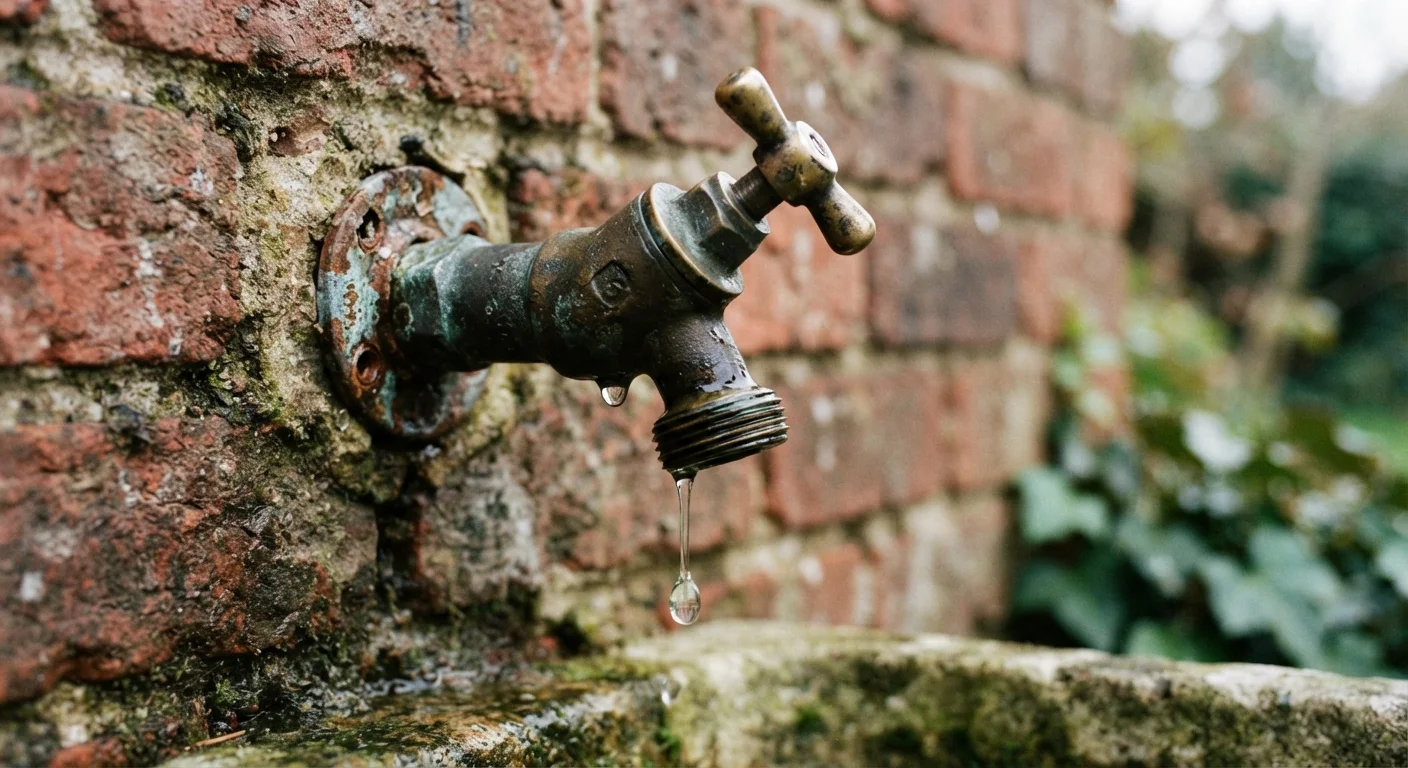
Before touching any tools, watch the spigot closely. Water dripping from the spout tip when the handle is fully closed points to a worn washer or cartridge inside the valve body. Water seeping from around the packing nut (the hexagonal collar just behind the handle) indicates a failed packing washer or O-ring on the stem. Each location requires a different part, so confirming the source first prevents an unnecessary trip back to the hardware store.
Shut off the water supply and relieve pressure
Find the dedicated shutoff valve on the cold-water supply line feeding your outdoor spigot. Turn it fully clockwise. Then open the spigot handle outside to drain any water remaining in the line. Place a towel or small bucket under the spigot to catch drips. Once water stops flowing, the line is depressurized and safe to work on.
Remove the handle and expose the packing nut
Use a flathead or Phillips screwdriver to remove the screw on top of or behind the spigot handle. Lift or pull the handle straight off - older handles may need a gentle wiggle. You will now see the packing nut, a large hex-shaped nut. This is the piece your wrench will grip in the next step.
Unscrew the packing nut and remove the stem
Using an adjustable wrench, turn the packing nut counterclockwise until it releases. Once the nut is off, grip the stem - the threaded rod that extends into the body - and turn it counterclockwise as if you were opening the faucet. The entire stem assembly will unthread and pull out. Set it on your work surface.
Replace the worn washer or O-ring
Inspect the bottom of the stem. You will find a rubber seat washer held by a brass screw - this is the part that causes spout drips when worn flat or cracked. Unscrew it and press in a matching replacement. If the leak was at the packing nut, look for a rubber O-ring or braided packing material wrapped around the stem just above the threads. Peel off the old material and wrap on new packing or press in a replacement O-ring. Apply a thin coat of silicone-based plumber's grease to whichever rubber part you replaced to help it seal evenly and last longer.
Reassemble and test for leaks
Thread the stem back into the valve body clockwise until snug, then thread the packing nut back on and tighten with your wrench - firm but not overtightened, which can crack the nut. Reattach the handle and its retaining screw. Slowly reopen the indoor shutoff valve, then check both the spout and the packing nut area for any seeping. A fully closed handle should produce zero drips.
Frost-Free Spigots Need Extra Care
Frost-free (anti-siphon) spigots have a longer stem that extends inside the wall. If you over-tighten or incorrectly reassemble the stem, you can crack the internal pipe or damage the anti-backflow valve. Work slowly and refer to the manufacturer's documentation for your specific spigot model if you are unsure.
For more context on which DIY plumbing moves to avoid, see our companion piece on DIY plumbing myths that could make a small leak much worse.
Stock a Small Washer Assortment
A multi-size rubber washer kit costs just a few dollars at most hardware stores and covers the most common faucet and spigot sizes. Keeping one on hand means you can complete this repair in a single session without a mid-job store run - a practical move for any budget-minded homeowner who wants to handle minor plumbing tasks quickly.
When the Fix Doesn't Hold
If the spigot continues to drip after replacing the washer, the metal valve seat - the surface the washer presses against - may be pitted or corroded. A seat wrench can resurface or replace it, though at that point some homeowners find it more practical to replace the entire spigot. A new hose bib is generally inexpensive and straightforward to swap if you're comfortable with basic plumbing connections and have confirmed the shutoff valve works reliably.
Similarly, if you notice water is being lost elsewhere in your outdoor watering setup, it may be worth reviewing how your garden irrigation is configured. Our overview of drip irrigation versus sprinkler systems can help you evaluate whether your current approach is using water efficiently beyond just the spigot itself.