

Key Takeaways
Why Small Bathrooms Get Cluttered So Fast
Small bathrooms accumulate clutter faster than almost any other room in the house. The reasons are predictable: limited counter space, awkward under-sink cabinets, and a constant flow of products - some used daily, some abandoned after one try. When storage doesn't match the volume of items, everything ends up piled on the only flat surface available.
The good news is that square footage rarely determines how organized a bathroom can be. What actually matters is how deliberately you use the space you have. Before you consider buying a single organizer or shelf, it helps to understand which surfaces, walls, and cavities you're working with - and which ones you've been ignoring.
If you're dealing with clutter across multiple rooms at once, the room-by-room audit checklist is a useful starting point before spending anything.
What you will need
Step-by-Step: Building an Organization System That Sticks
Follow these steps in order. Skipping the purge phase and jumping straight to buying organizers is one of the most common - and costly - mistakes homeowners make. More containers won't fix a clutter problem if the underlying volume of stuff hasn't been addressed first.
Empty everything out completely
Pull every item out of the bathroom - from under the sink, inside cabinets, off the countertop, and from any baskets or drawers. Lay it all out on the floor or a nearby surface. This full inventory is the only way to see the true volume of what you're storing and to find duplicates, expired products, and items that don't belong in the bathroom at all.
Purge ruthlessly before reintroducing anything
With everything visible, go through each item and apply a simple filter: Do you use it at least once a week? If the answer is no, it either moves to another storage location in the house or leaves entirely. Products you've been meaning to finish, travel-size duplicates, and half-empty bottles of the same product are prime candidates for removal. The goal is to reduce volume, not just rearrange it.
Sort what remains by use frequency
Divide everything that's staying into three groups: items used daily, items used weekly, and items used occasionally. Daily items - toothbrush, face wash, deodorant - should be the most accessible, stored at arm's reach without requiring you to move anything. Weekly items can go in a slightly less convenient spot. Occasional items belong in the back of a cabinet or in a bin stored under the sink.
Assign every item a specific home
This step is where most organization attempts fall apart - items get put back in roughly the right area, but without a defined spot, they migrate. Decide exactly where each category lives: toothbrushes in the holder by the sink, skincare products on the top shelf of the cabinet, hair tools in a basket under the sink. Specificity is what makes a system maintainable.
Identify unused vertical and door space for expansion
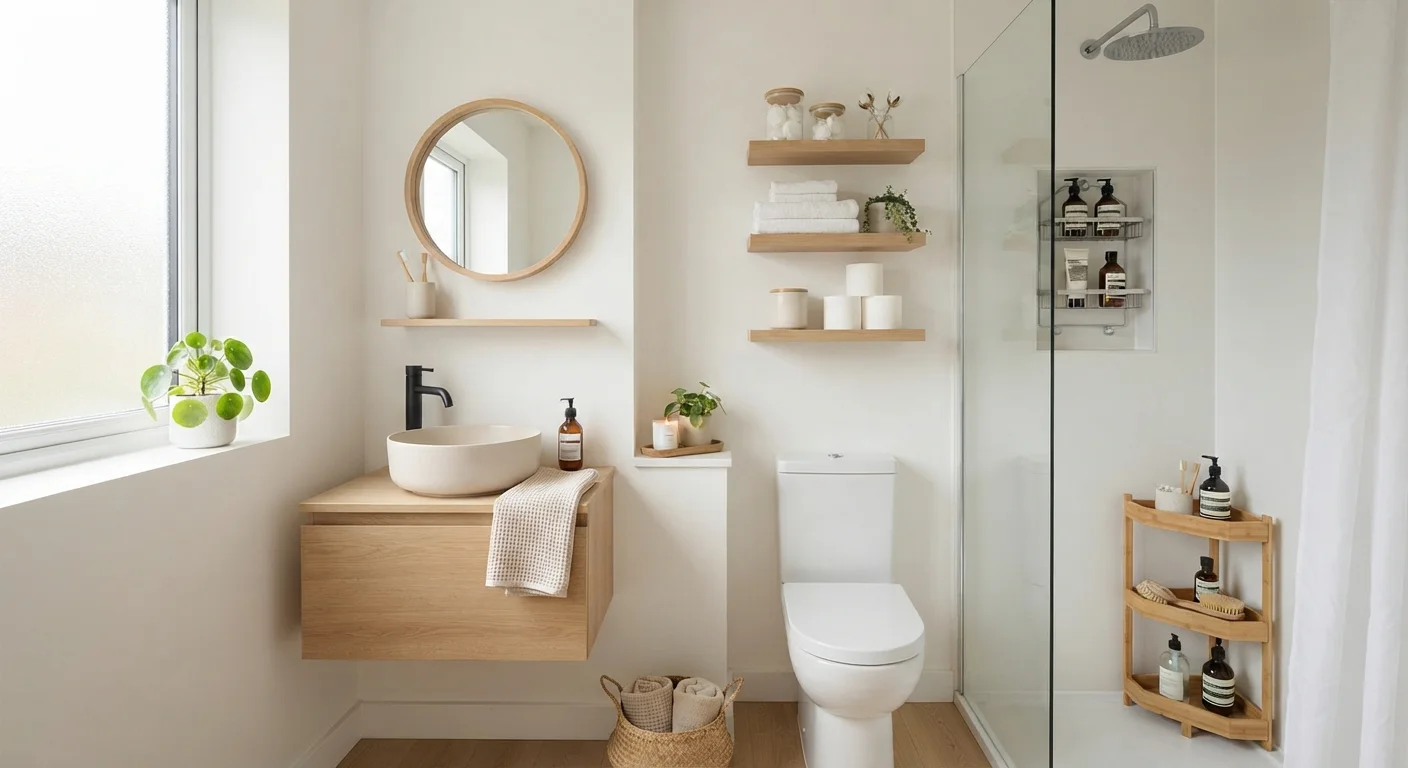
Now that items have homes and volume is reduced, look at the walls and door backs with fresh eyes. A narrow floating shelf above the toilet, a hook rail on the back of the door, or a magnetic strip on the inside of a cabinet door can dramatically increase usable storage without altering the room's footprint. Measure before purchasing anything to make sure it will fit the specific space.
No-Cost First: Reorganize Before You Buy
It's tempting to start an organization project by shopping for bins and baskets. But the most effective - and budget-friendly - first move is always to reduce volume and reassign what you already own. Many people find that after a thorough purge, the storage they already have is more than sufficient. See how to declutter without spending anything for a practical starting framework.
Making the Most of Vertical and Hidden Space
Once you've worked through the steps above, the next challenge is making the space work harder. Most small bathrooms have usable square footage that goes completely unnoticed: the backs of cabinet doors, the wall above the toilet, the inside of the medicine cabinet door, and the narrow gap between the toilet tank and the wall.
Wall-mounted shelves installed above the toilet can hold towels, baskets, or infrequently used items without taking up any floor space. Over-door organizers - the kind with clear pockets or wire baskets - can house a surprising amount of product when mounted on the back of the bathroom door or inside cabinet doors. Magnetic strips, typically associated with kitchens, work equally well for holding small metal items like nail clippers or bobby pin containers.
If multiple people share the bathroom, giving each person a designated zone or labeled basket can significantly reduce daily friction. The shared-space organization guide covers approaches that don't require household-wide buy-in.
Mounting Shelves in Bathrooms: Know the Risks
Bathroom humidity can weaken adhesive-mounted products over time, especially above showers or near sinks. Adhesive hooks and shelves advertised for bathroom use have weight limits - check them before loading the shelf with bottles. For anything heavier or more permanent, hardware-mounted options anchored into studs or with appropriate drywall anchors are more reliable. If you're unsure about wall anchors or drilling into tile, consult a qualified handyperson rather than guessing.
Keeping It Organized After the Hard Work Is Done
Organization systems fail not because they were badly designed, but because maintaining them requires habits that were never established. In a small bathroom, clutter can visibly rebuild within days if items aren't returned to their designated spots.
The simplest maintenance strategy is a quick weekly reset: scan every surface, return anything out of place, and discard any empty or expired products. This takes under five minutes and prevents the gradual drift that makes a space feel overwhelming again. For more structure around this, clutter-prevention habits worth building outlines low-effort routines that hold up over time.
It's also worth revisiting the system itself every few months. Products change, routines shift, and what worked in spring may not work in winter. Treat your bathroom organization as something to refine, not something to finish once and forget.
If you started here because you're tackling clutter across the whole house, decluttering on a tight budget covers no-cost methods you can apply in every room.