

Key Takeaways
Why the Engine Air Filter Actually Matters
Your engine is essentially a large air pump - it mixes air and fuel, ignites the mixture, and converts the energy into motion. Every gallon of fuel your engine burns requires roughly 10,000 gallons of air to combust properly. That air passes through the engine air filter before it reaches the intake, keeping dust, pollen, debris, and road grit from grinding away internal components.
When the filter gets heavily loaded with contaminants, airflow is restricted. The engine has to work harder to draw in the air it needs, which can translate to sluggish throttle response and reduced fuel economy. It won't cause catastrophic failure overnight, but a long-neglected filter is the kind of slow drain on performance and efficiency that costs more than the filter itself over time.
This is a distinctly different component from the cabin air filter, which cleans the air entering your dashboard vents. If you're unclear on which is which, the difference between cabin and engine air filters is worth understanding before you start. For now, we're focused entirely on the engine side.
For a broader look at the small maintenance habits that protect fuel economy, see the weekly car check that quietly saves money at the pump.
What you will need
Step-by-Step: Replacing the Engine Air Filter
Follow these steps in order. If anything looks significantly different from what's described - unusual housing shapes, additional hose connections, or an unfamiliar layout - consult your vehicle's owner's manual or a model-specific resource before proceeding.
Let the Engine Cool and Open the Hood
If the car has been running, wait at least 10 minutes before starting. The engine bay gets hot, and working in a cooled-down space is safer and more comfortable. Pop the hood and prop it securely.
Locate the Air Filter Housing
The air filter sits inside a plastic housing - usually a black box connected to a large flexible duct (the intake tube) that leads toward the engine. On most modern vehicles it's positioned near the top or front of the engine bay and is clearly visible once the hood is open. On older carbureted engines it typically looks like a round metal canister on top of the engine. Consult your owner's manual if you're unsure.
Open the Air Box
Most air boxes are held shut by metal clips or plastic latches along the edges. Pinch or flip these open with your fingers - no tools needed in most cases. Some older housings use metal spring clamps that require a flathead screwdriver to release. Once unlatched, lift the lid of the housing. You may need to disconnect a small hose or sensor wire on certain models; if so, note exactly where it connects before removing it.
Remove the Old Filter and Inspect It
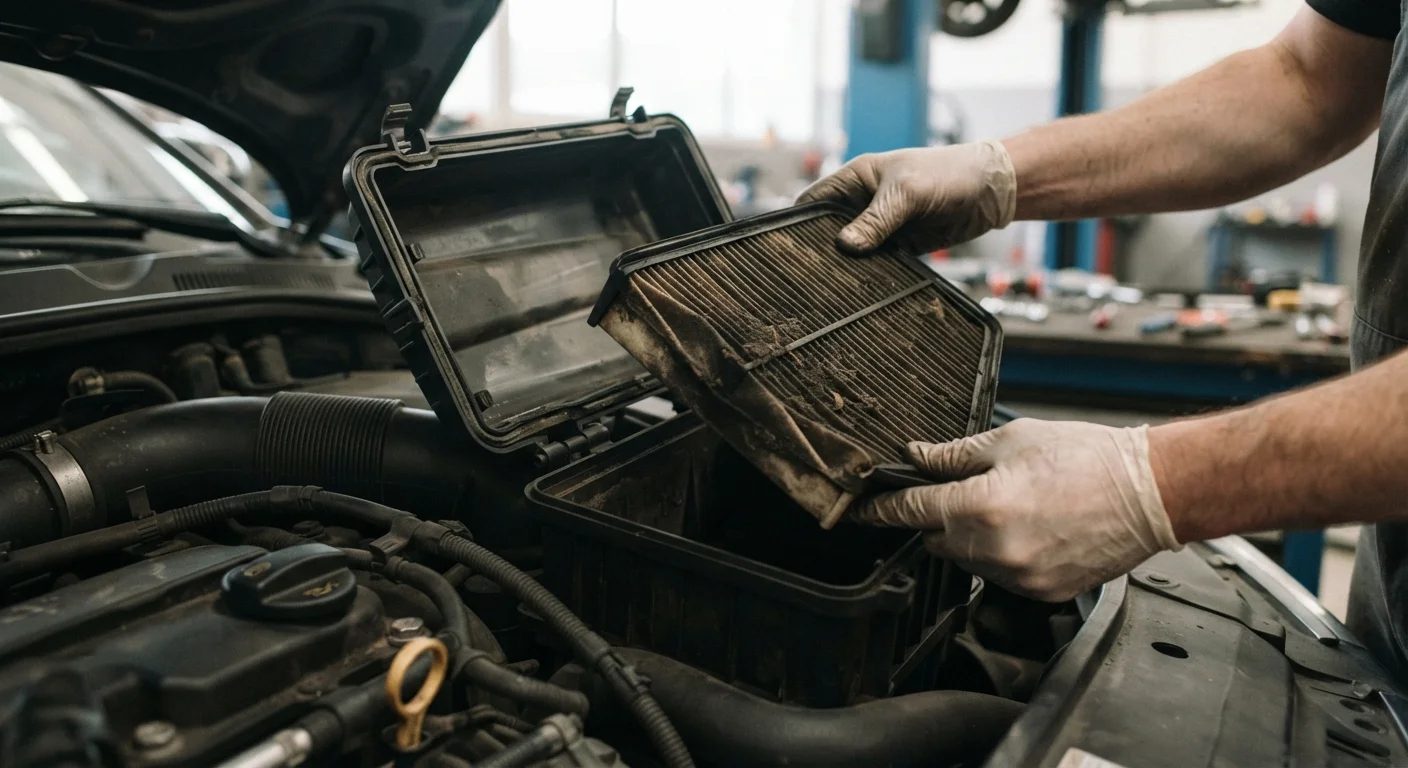
Lift the old filter straight out. Hold it up to a light source. A clean filter appears white or light gray; a filter that needs replacement will look dark brown or black, often with visible debris embedded in the pleats. Even if it appears only moderately dirty, if you're past the mileage interval in your owner's manual, go ahead and replace it - the cost of the filter is low.
Clean the Air Box (Optional but Recommended)
Before inserting the new filter, take a moment to wipe out the inside of the air box with a dry cloth or soft brush. Remove any loose dust, leaves, or debris that have accumulated. Do not use water or compressed air - moisture can damage downstream components and compressed air can force debris deeper into the system.
Seat the New Filter
Place the new filter into the housing in the same orientation as the old one. The filter should fit snugly against the housing walls with no gaps around the edges. Gaps allow unfiltered air - and particles - to bypass the filter entirely, defeating its purpose. Press gently around the perimeter to confirm an even seat.
Close the Housing and Reconnect Any Components
Lower the air box lid and re-engage all clips, latches, or clamps until they click or lock into place. If you disconnected a sensor wire or hose earlier, reconnect it now. Give each connection a gentle tug to confirm it's secure. Close the hood.
Set a Simple Reminder for Next Time
Write the date and current odometer reading on a small piece of masking tape and stick it to the inside of the air box lid. Most manufacturers recommend inspecting the filter every 15,000 miles and replacing it every 15,000-30,000 miles depending on conditions. Dusty or unpaved road driving shortens that interval.
Replacing your air filter is one of the simplest wins in routine maintenance. Pair it with the other overlooked maintenance items that quietly run up repair bills and you'll stay ahead of the slow-drain costs that catch budget-conscious drivers off guard. If you're weighing your next DIY project, what a DIY oil change really involves is a useful comparison for what a more involved job looks like.