

Key Takeaways
Reduces cost per oil change over time
Once basic tools are purchased, the ongoing cost is limited to oil and a filter - often meaningfully less than shop labor rates, particularly for synthetic oil changes.
You control the oil spec and filter quality
Choosing your own materials means you can match the exact viscosity and API rating your engine calls for, rather than accepting whatever a shop stocks.
Builds hands-on familiarity with your vehicle
Getting under the car regularly creates natural opportunities to spot leaks, worn hoses, or other developing issues before they become roadside problems.
Change on your own schedule
No appointment needed, no waiting room - you can do the job on a Saturday morning without fitting into a shop's availability.
Upfront tool investment offsets early savings
A drain pan, filter wrench, torque wrench, and funnel can cost $40-$80 or more if you're starting from scratch, meaning the first few DIY changes may not save money.
Errors can cause serious engine damage
A stripped drain plug, cross-threaded filter, or wrong oil spec aren't always immediately obvious - and the downstream damage can far exceed what you saved.
Used oil disposal requires extra steps
Motor oil is regulated hazardous waste; you must store it in a sealed container and bring it to an authorized recycling location - it cannot go in household trash or drains.
Requires suitable workspace and physical access
You need a level, stable surface and sufficient clearance under the vehicle - conditions that renters, apartment dwellers, or those with low-slung vehicles may not have.
Takes significantly longer than a shop visit
First-timers should allow an hour or more; even experienced DIYers won't match the speed of a shop with a lift and a dedicated crew.
Our Verdict
DIY oil changes are a genuinely viable money-saver for drivers who have the right tools, a safe workspace, and the patience to do the job correctly. The per-change savings are real, and the hands-on familiarity with your engine is a genuine side benefit. However, the process carries meaningful risk if rushed or done without the proper preparation - and the disposal step is non-negotiable.
Best suited to drivers with basic mechanical comfort, access to a level parking area or jack stands, and the time to do the job unhurried.
What the Process Actually Requires
An oil change sounds straightforward: drain the old oil, swap the filter, refill with fresh oil. In practice, getting there safely takes more preparation than most first-timers expect.
Before you turn a wrench, you need to know your vehicle's oil specification (viscosity grade and API service rating, both listed in the owner's manual), the correct oil capacity in quarts, and the right oil filter part number for your engine. Using the wrong spec - say, 5W-30 in an engine that calls for 0W-20 - can affect engine protection, particularly in cold starts. See our guide to synthetic vs. conventional motor oil for help decoding those numbers.
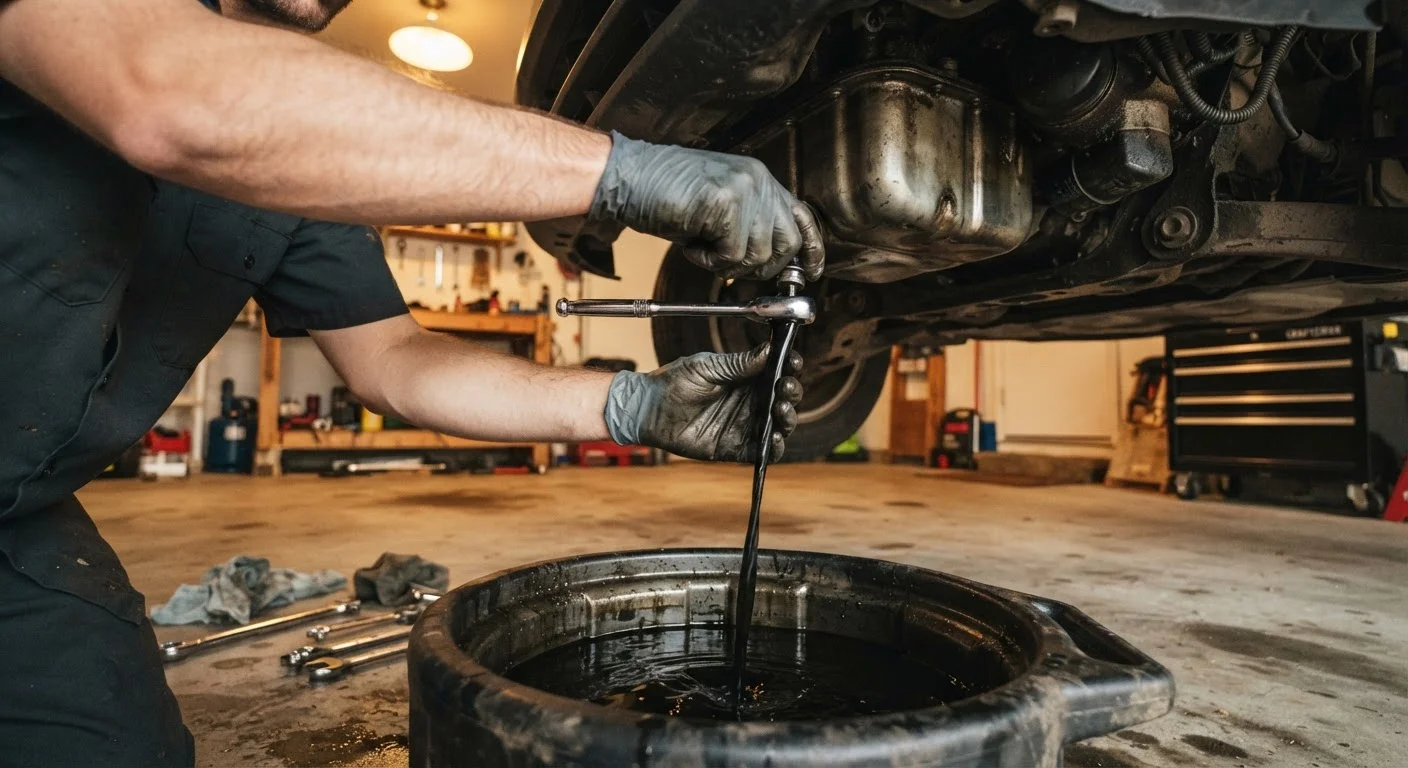
The physical steps involve: warming the engine briefly to thin the oil, safely lifting and supporting the vehicle if the drain plug isn't accessible from ground level, removing the drain plug and old filter (both can be stubborn), letting the oil fully drain, installing a new filter with a fresh rubber gasket, reinstalling the drain plug to spec, and refilling through the top. You'll also need to reset the oil life monitor if your vehicle has one - the procedure varies by make and model.
Plan for 45 minutes to an hour your first time. Experienced DIYers can do it faster, but rushing is where costly mistakes happen.
The Real Advantages
Reduces cost per oil change over time
Once basic tools are purchased, the ongoing cost is limited to oil and a filter - often meaningfully less than shop labor rates, particularly for synthetic oil changes.
You control the oil spec and filter quality
Choosing your own materials means you can match the exact viscosity and API rating your engine calls for, rather than accepting whatever a shop stocks.
Builds hands-on familiarity with your vehicle
Getting under the car regularly creates natural opportunities to spot leaks, worn hoses, or other developing issues before they become roadside problems.
Change on your own schedule
No appointment needed, no waiting room - you can do the job on a Saturday morning without fitting into a shop's availability.
Beyond the numbers, doing your own oil change builds a useful habit: you're under (or beside) the vehicle, looking at hoses, checking for leaks, and getting a read on the car's overall condition. That kind of regular visual inspection is exactly what our weekly car check guide recommends for catching small issues before they become expensive ones.
You also control the inputs - the exact oil brand, grade, and filter quality - rather than accepting whatever a quick-lube shop has in stock that day.
The Real Disadvantages
Upfront tool investment offsets early savings
A drain pan, filter wrench, torque wrench, and funnel can cost $40-$80 or more if you're starting from scratch, meaning the first few DIY changes may not save money.
Errors can cause serious engine damage
A stripped drain plug, cross-threaded filter, or wrong oil spec aren't always immediately obvious - and the downstream damage can far exceed what you saved.
Used oil disposal requires extra steps
Motor oil is regulated hazardous waste; you must store it in a sealed container and bring it to an authorized recycling location - it cannot go in household trash or drains.
Requires suitable workspace and physical access
You need a level, stable surface and sufficient clearance under the vehicle - conditions that renters, apartment dwellers, or those with low-slung vehicles may not have.
Takes significantly longer than a shop visit
First-timers should allow an hour or more; even experienced DIYers won't match the speed of a shop with a lift and a dedicated crew.
The disposal issue deserves its own emphasis. Used motor oil is a regulated hazardous waste. Most auto parts retailers accept it for recycling at no charge, but you must store and transport it properly - typically in a sealed container. Pouring it on the ground, into storm drains, or in household trash is illegal under federal and most state environmental regulations and carries real penalties.
First-timers also commonly make two mistakes: over-tightening the drain plug (which can strip the oil pan threads, an expensive repair) and failing to properly seat the oil filter, which can cause a slow leak. Neither mistake announces itself immediately - you may drive away thinking everything is fine.
A Note on Oil Filter Disposal
Used oil filters also contain residual motor oil and are considered hazardous waste in many states. Most retailers that accept used motor oil will also take used filters. Allow the filter to drain into your catch pan for several hours before transport. Check your state's environmental agency website for local requirements, as rules vary.
If you're evaluating which home and vehicle maintenance tasks genuinely make financial sense to DIY, this breakdown of realistic DIY cost savings offers a useful parallel framework across categories.
Tools, Costs, and the Break-Even Point
~45-60 min
Typical time for a first DIY oil change
Most automotive how-to sources estimate a first-time DIY oil change takes between 45 minutes and one hour, excluding cleanup and disposal preparation.
$40-$80
Estimated starter tool kit cost
Basic equipment including a drain pan, filter wrench, funnel, and torque wrench typically falls in this range when purchased new from general tool retailers.
A basic DIY oil change kit - oil drain pan, filter wrench, funnel, rags, and a torque wrench - typically runs $40-$80 if you're starting from zero. Add the cost of oil and a filter (which varies by vehicle and oil type), and your first change may not save anything over a shop visit.
The savings accrue over subsequent changes once the tools are paid off. Whether that math works for you depends on how often your vehicle needs oil changes and how much a local shop charges. High-mileage drivers or those on synthetic oil schedules that extend intervals will see a different calculation than someone doing frequent conventional-oil changes.
For a broader view of which DIY maintenance tasks are worth the learning curve, this guide to DIY car maintenance limits helps you assess where your time and skill are best spent.