

Key Takeaways
Summary
18 items · 10-20 minutes per week
Why Five Minutes a Week Changes Your Fuel Bill
Fuel economy rarely collapses all at once. It erodes gradually - a pound or two of tire pressure lost here, an air filter clogging there - until you're filling up noticeably more often without a clear reason why. The underlying causes are almost always maintenance items, not mechanical failures, which means they're within reach of any driver willing to spend a few minutes each week.
This checklist targets the maintenance items with the clearest, most direct connection to miles per gallon (MPG). None of them require special tools or mechanical expertise. What they do require is consistency. Running through this list once is helpful; making it a weekly habit is where the real savings accumulate.
If you want to understand which service intervals have the deepest long-term impact on efficiency, see the maintenance schedule that matters most for MPG. This checklist is designed as your shorter, between-service touchpoint.
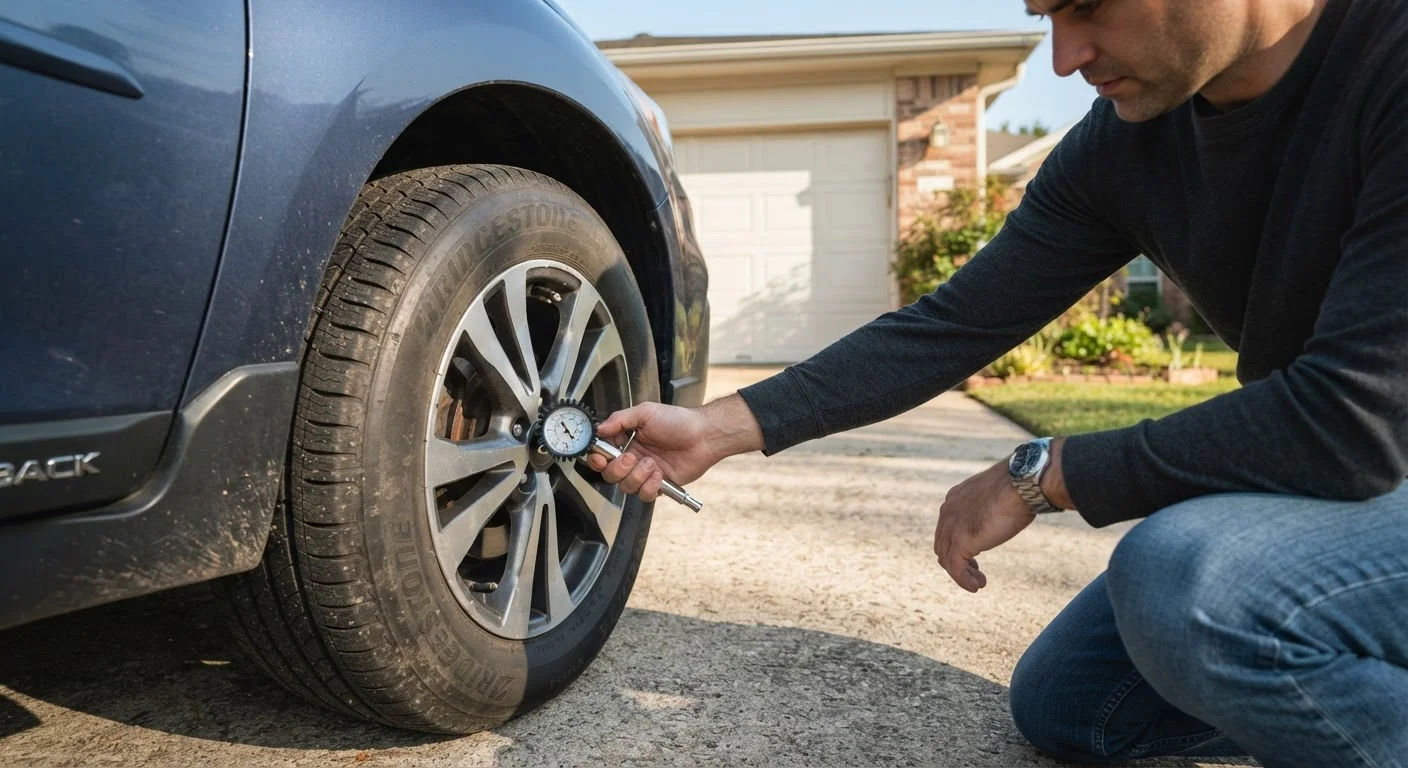
Tire Pressure Gauge
Accurately reads tire PSI so you can compare against your vehicle's recommended inflation level.
Portable Air Compressor or Inflator
Lets you correct low tire pressure at home without a trip to the gas station.
Clean Shop Rag or Paper Towels
Needed to wipe the oil dipstick clean before taking an accurate reading.
Flashlight or Headlamp
Helps you see into the engine bay and inspect hoses, belts, and fluid levels clearly.
Owner's Manual
Lists the correct oil viscosity, fluid specifications, and recommended PSI for your specific vehicle.
How to Use This Checklist
Run through these items once a week - a Sunday morning before errands works well for many drivers. You're not doing repairs here; you're doing a quick audit. Flag anything that needs attention and address it within a day or two. The checklist is grouped by area of the vehicle so you can move logically from one spot to the next without backtracking.
Items marked must have a direct, documented link to fuel consumption and should never be skipped. Items marked should protect fuel economy indirectly by preventing conditions that strain the engine or drivetrain. Nice-to-have items are low-effort additions that round out the check.
Tires
Engine Oil & Fluids
Air Filter & Intake
Lights & Electrical
Under the Hood - Quick Visual
Never Open the Coolant Cap on a Hot Engine
The cooling system is pressurized, and opening the radiator cap or coolant reservoir cap while the engine is warm can cause scalding coolant to spray. Always let the engine cool fully - at least 30 minutes after shutting off - before checking or adding coolant. When in doubt, wait longer.
What to Do When You Find a Problem
Finding a low reading or a dirty filter is actually the point - catching it early keeps a small issue from becoming a costly one. Here's a quick action guide for the most common findings:
- Tire pressure low: Add air at a gas station pump or with a home compressor. Check the driver-side door jamb sticker for your vehicle's recommended PSI - not the maximum listed on the tire sidewall.
- Engine oil low or dark: Top off with the correct viscosity listed in your owner's manual. If it looks black and gritty rather than just dark, an oil change is overdue. See our guide on what a DIY oil change actually involves before deciding whether to handle it yourself.
- Air filter visibly dirty: Replacement is a common DIY job. Our walkthrough on changing your engine air filter in under 10 minutes covers the process with no special tools required.
- Check engine light on: Don't ignore it - even a loose gas cap can trigger it. Learn what the check engine light is actually telling you before assuming the worst.
For a broader look at the small parts that quietly escalate into big repair bills, the overlooked maintenance items that run up repair costs is worth a read alongside this checklist.
When to Stop Driving Immediately
Some findings on this checklist are not drive-and-fix-later situations. If you notice a sudden loss of tire pressure, evidence of an active brake fluid leak, an oil pressure warning light, or a temperature gauge in the red, stop driving as soon as it's safe and consult a qualified mechanic before continuing. Operating the vehicle under these conditions can cause serious mechanical damage or create a safety hazard.