

Key Takeaways
Why Parking-Lot Fluid Checks Matter
You don't need a lift, a mechanic's uniform, or a full Saturday afternoon to keep your car's fluids in healthy range. Most of the checks that prevent expensive engine damage take less time than a coffee stop - and you can do them anywhere with a flat surface. For budget-conscious drivers, this habit is one of the highest-return investments of five minutes you'll find.
Fluids are your engine's lifeblood. Oil lubricates moving metal parts. Coolant keeps temperatures from spiking. Brake fluid transfers the force from your pedal to the calipers. Washer fluid is the least critical but still a safety item when visibility drops. Letting any of these go unmonitored risks minor issues escalating into major repairs. If you ever spot a puddle under your car, the fluid leak identification guide can help you figure out what's dripping and how urgently to act.
Do these checks once a week or every few fill-ups, and you'll catch problems well before a dashboard warning light forces your hand. Speaking of which - if a light is already on, the car warning lights guide is a useful companion resource.
What you will need
Step-by-Step: The Five-Minute Fluid Check
Follow the steps below in order. The whole sequence flows faster once you've done it a couple of times. Gather what you need before you pop the hood so you're not fumbling mid-check.
Clean lint-free rag
Wipe the dipstick clean between readings for an accurate oil level check.
Owner's manual
Confirms the correct fluid types and grades your specific vehicle requires.
Engine oil (correct grade)
Used to top off the oil level if it reads below the MIN mark on the dipstick.
Premixed windshield washer fluid
Refills the washer reservoir; climate-appropriate formulas prevent line freeze in winter.
Coolant (pre-mixed or concentrate)
Used to top off the coolant reservoir if the level is below the LOW mark.
Park on level ground and let the engine cool
Pull into a flat spot in the lot - even a slight slope skews fluid level readings. Turn the engine off and wait at least five minutes before opening the hood. For coolant and oil especially, working on a hot engine is both inaccurate and a burn risk.
Check the engine oil
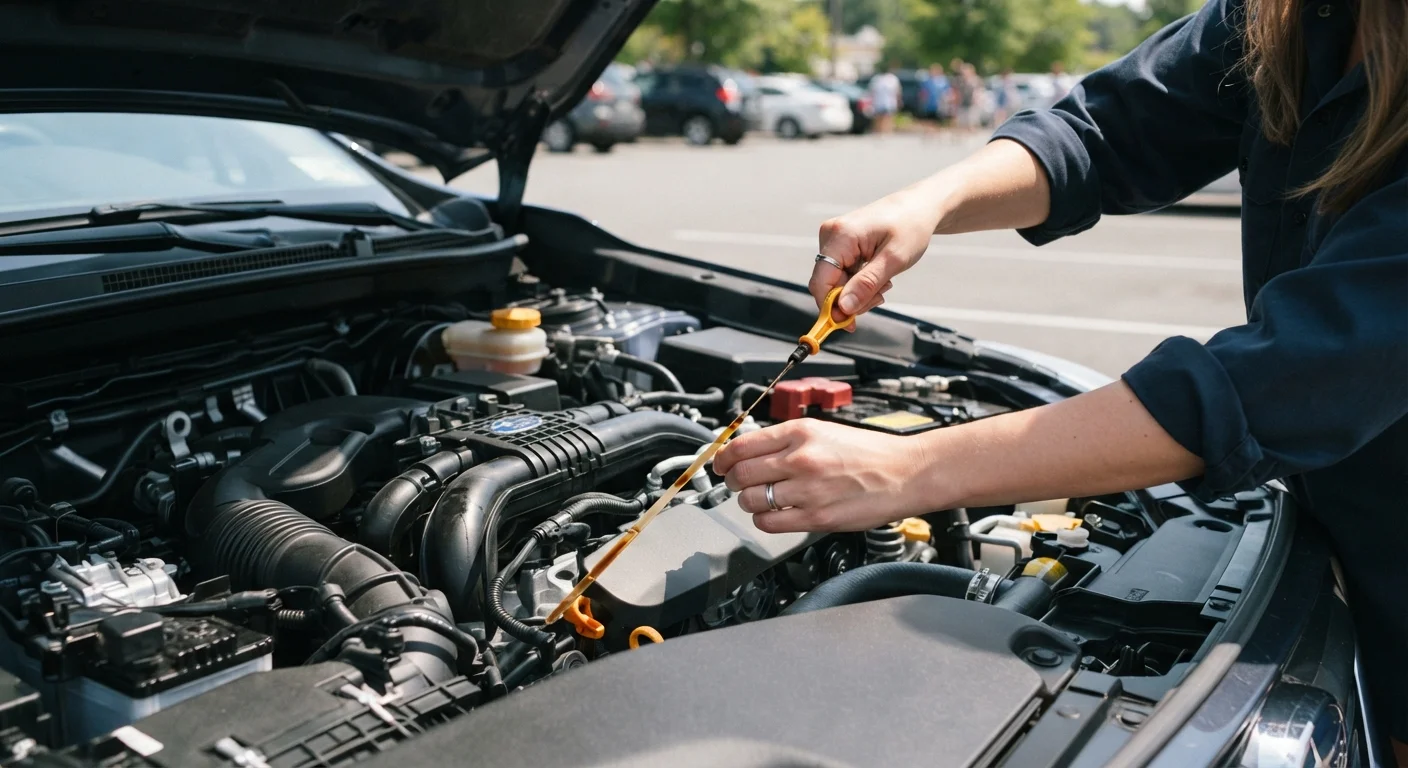
Pull out the oil dipstick (usually a brightly colored ring or handle near the front of the engine). Wipe it clean with your rag, reinsert it fully, then pull it out again. Read where the oil film falls between the MIN and MAX marks. Also note the oil's color - it should be amber to dark brown. If it's black and gritty, it's overdue for a change. If it appears milky, stop and consult a mechanic.
Check the coolant reservoir
Locate the translucent plastic coolant reservoir (also called the overflow tank) - it connects to the radiator via a hose. You can read the level through the tank wall without opening it. The fluid should sit between the LOW and FULL marks. Coolant is typically green, orange, or pink depending on the formulation your vehicle uses.
Check the brake fluid
The brake fluid reservoir is a small, usually semi-transparent plastic container near the firewall on the driver's side. You can often read the level through the side without removing the cap. It should sit between MIN and MAX. The fluid should be pale yellow and relatively clear. If it's dark, it has absorbed moisture and should be flushed on a schedule - not just topped off.
Check the windshield washer fluid
The washer fluid reservoir is typically the easiest to spot - look for a cap with a windshield or spray symbol. Remove the cap and peer in, or check the translucent tank level markings. Top it off with premixed washer fluid rated for your climate. In winter months, use a freeze-resistant formulation appropriate for your region.
Once you've confirmed your fluid levels are in range, you're done - that's genuinely it. If any fluid was low enough to top off, make a note of which one and how much you added. Consistently low levels between checks often point to a slow leak or consumption issue worth mentioning at your next service appointment. Use the topping off vs. flushing guide to understand when adding fluid is the right move versus when a full flush is overdue.
Reading the Results and Knowing When to Stop
Normal fluid levels and clean appearance are your green light to drive on. But certain visual or smell cues mean you should pause before turning the key.
- Oil looks milky or frothy: This can indicate coolant mixing with oil - a potential head gasket issue. Do not drive; have the vehicle inspected.
- Coolant reservoir is empty repeatedly: A one-time top-off is fine; recurring low levels suggest a leak or internal consumption.
- Brake fluid is dark brown or gritty: The fluid absorbs moisture over time, which lowers its boiling point. This is a flush situation, not a top-off situation.
- Any fluid smells burnt: Especially coolant (sweet, syrup-like) or oil - both indicate the fluid may be degraded or escaping onto hot engine parts.
Don't Ignore Brake Fluid Warnings
If your brake fluid is consistently low or looks contaminated, do not simply top it off and move on. Low brake fluid can indicate pad wear, a leak in the hydraulic system, or both. Either condition affects your ability to stop the vehicle safely. Have the brake system inspected by a qualified mechanic before driving further if you have any doubt about brake performance.
If your checks reveal something that doesn't look right and you're heading to a shop, the pre-mechanic inspection checklist will help you document what you observed so the technician can act on it efficiently. Regular fluid checks also feed directly into the broader habit covered in the weekly car check for fuel savings - small habits compound into meaningful long-term savings at the pump and at the repair counter.